


Lymphoma là bệnh liên quan đến hệ thống mạch bạch huyết của cơ thể hay còn gọi là ung thư hạch bạch huyết. Bệnh ung thư này đang có xu hướng gia tăng những năm gần đây. Vậy nên việc hiểu rõ về lymphoma là gì có thể giúp các bạn phòng tránh cũng như …

Tác nhân gây ra bệnh viêm não là gì? Dấu hiệu của viêm não
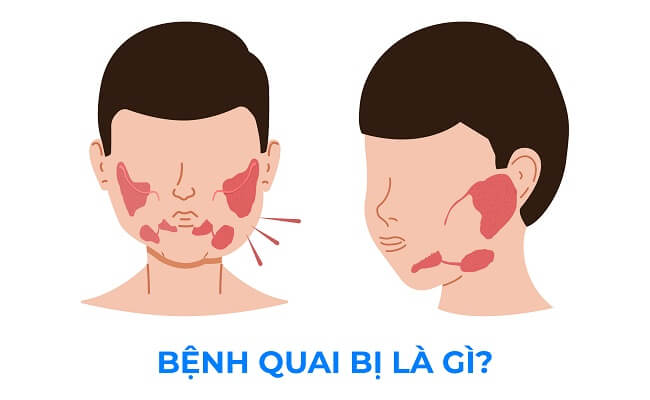
Viêm não là một bệnh thực sự rất phổ biến ở Việt Nam và cũng là một bệnh rất nguy hiểm. Bệnh viêm não có tỷ lệ mắc cao ở trẻ em và người già, xuất hiện quanh năm. Để hiểu rõ hơn về cách phòng tránh thì hãy cùng mylittlecupcakeblog.com tìm hiểu ngay về …

Luật cá độ bóng đá cơ bản mà người chơi cần phải nắm được
Cá độ bóng đá trực tuyến đang dần trở thành hình thức giải trí rất phổ biến đối với những người hâm mộ bóng đá. Nếu muốn tham gia chơi cá cược thì người chơi sẽ cần phải nắm được luật cá độ bóng đá cơ bản. Trong bài viết sau đây, hãy cùng nhà …

“Choáng ngợp” trước 10 siêu xe đắt nhất thế giới
Một chiếc xe ô tô không chỉ là phương tiện di chuyển mà nó còn là tác phẩm nghệ thuật được nâng niu, nhất là sau nhiều thập kỷ sản xuất. Những tên tuổi lớn như Lamborghini, Aston Martin, Rolls Royce… thường có giá rất cao và chỉ dành cho giới siêu giàu. Dưới đây …

Cách đổi 1 độ C bằng bao nhiêu độ F nhanh mà bạn nên biết
1 độ C bằng bao nhiêu độ F luôn là là câu hỏi được nhiều người quan tâm khi theo dõi những bản tin thời tiết hoặc sử dụng những thiết bị đo nhiệt độ. Bởi việc xác định nhiệt độ rất quan trọng đối với một số lĩnh vực trong đời sống. Vậy nên, …

Quy đổi: 1 euro bằng bao nhiêu tiền việt
Euro là một trong những đồng tiền chung của các nước Châu Âu và được sử dụng rộng rãi. Vậy 1 euro bằng bao nhiêu tiền việt? Cùng mylittlecupcakeblog.com tìm hiểu chi tiết tỷ giá đồng euro khi quy đổi sang tiền việt là bao nhiêu trong bài viết dưới đây nhé! I. Giới thiệu …
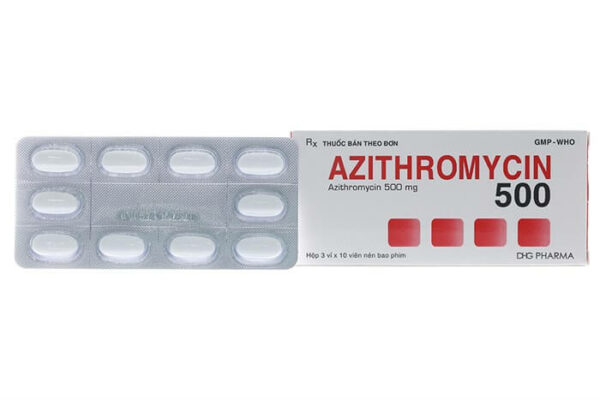
Thuốc Azithromycin: Công dụng, cách dùng và lưu ý khi sử dụng
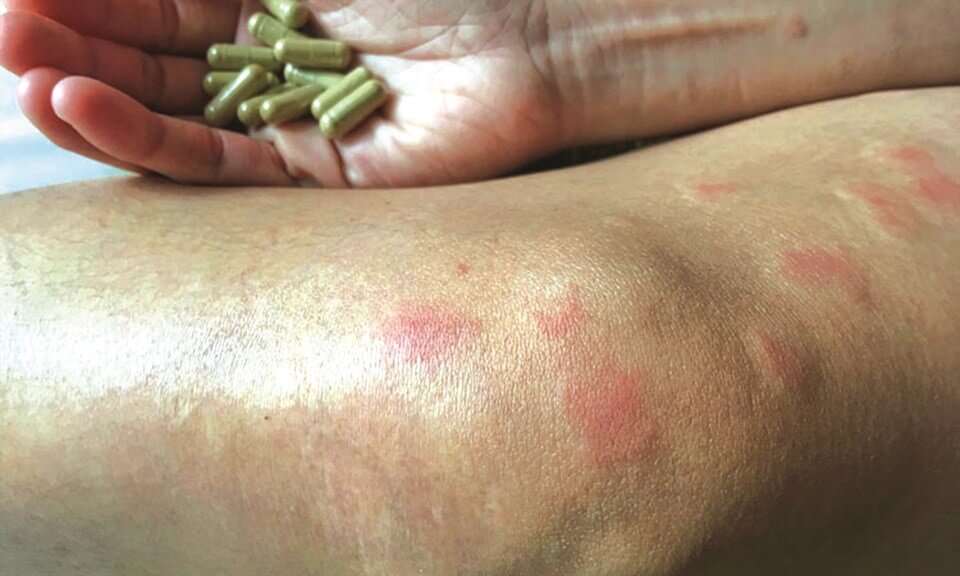
Thuốc Azithromycin thuộc nhóm Macrolid là những kháng sinh được sử dụng trong việc điều trị bệnh lý nhiễm khuẩn. Khi sử dụng thuốc cần lưu ý gì, cùng mylittlecupcakeblog.com tìm hiểu nội dung bài viết sau nhé! I. Công dụng của thuốc Azithromycin Azithromycin được sử dụng để điều trị nhiễm trùng do vi …

Thuốc berberin: Tác dụng, liều dùng và cách sử dụng ra sao?
Thuốc berberin chủ yếu được dùng để điều trị bệnh đau bụng thường có mặt trong tủ thuốc của mỗi gia đình Việt. Bên cạnh đó thuốc này còn được sử dụng để điều trị một số loại bệnh thường gặp khác liên quan đến đường ruột, đại tràng. I. Berberin là thuốc gì? Thuốc …

Top 4 người béo nhất thế giới và những pha giải cứu “đi vào lòng đất”
Những người béo nhất thế giới là những người có hình hài dị dạng, cân nặng quá khổ và thường gây sự tò mò cho độc giả. Không phải người ta xem để chê trách mà đơn giản xem để thấu hiểu nỗi khổ của họ và ý thức hơn trong việc bảo vệ cơ …

Cách làm bánh mì bơ tỏi siêu ngon, siêu đơn giản ngay tại nhà
Bánh mì bơ tỏi được xem là món ăn sáng được rất nhiều người yêu thích bởi hương vị ngọt béo ngậy của bơ kết hợp với thơm đặc trưng của tỏi tạo nên một món vô cùng hấp dẫn. Vậy bạn đã biết cách làm bánh mì bơ tỏi ngay tại nhà chưa? Nếu …